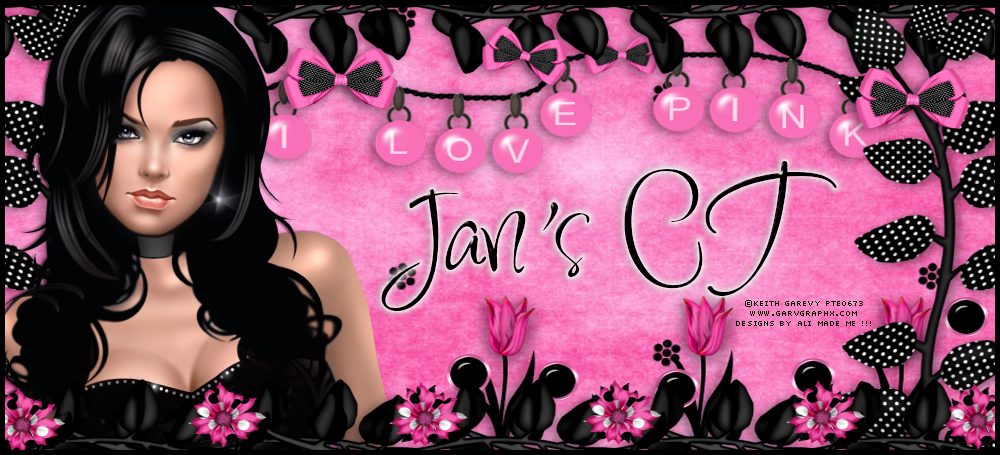
In this
tutorial I used
Used the
beautiful kit from Bibi’s Collection - PTU kit called Perlas - You can purchase
the kit here –
I used Keith Garvey
tube- you can purchase her/his tubes here - You need a license to use her/his
tubes -
I used PSP 9
but any version should work
Font I used –
Monkey Snake
Mask – Of
your choice
Drop Shadow I
used – 0 2 25 8
Open a new
transparent canvas 700 by 600 and fill with white
Add your drop
shadow as you go along
Paper 5 - Add mask - Delete mask - Merge Group
Element 4 -
resize to 40 – Rotate either to the left or right – Stretch out (See mine as
reference) - Duplicate- Place in position
Paper 4 –
resize to 40 – Place under Element 4 – Expand by 10
Tube – Place in
position under the top Element 4
Erase – Tube under
Element 4 (See mine as a reference)
Erase Element
4 that is covering the tube that you want to show in your creation (See mine as
a reference)
Element 41 –
resize to 28 – Place in position
Element 52 -
resize to 28 – Duplicate – Mirror - Place in position
Element 99 -
resize to 45 - Place in position
Element 97-
resize to 15 - Place in position
Element 24 -
resize to 12 - Place in position
Element 24 -
resize to 8 - Place in position
Element 64 - resize to 25 – Duplicate twice - Place in position
Element 66 - resize to 40 – Duplicate – Mirror - Place in position
Element 106 - resize to 15 - Place in position
Element 106 - resize to 15 – Hue & Saturation – Colorize – 0/128 - Place in position
Element 127 –
resize to 40 – Place in position
Add any other
elements you would like
Merge Visable
Resize your
tag
Add Copyright
information
Add name
Thank you for trying my tutorial


No comments:
Post a Comment